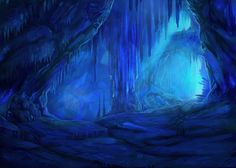
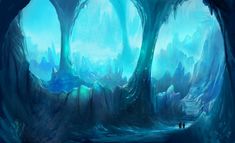
Crystal Cave Moodboard: https://www.pinterest.co.uk/NoOneIsHereYet/eden-game-crystal-cave/
Firstly, I began the task by making a moodboard specifically for the crystal cave for inspiration. I began by searching for crystal caves and art of crystal caves. I ended up mostly collecting pins of digital artworks of both crystal caves and caves in general. I looked at different art styles, cave shapes/designs and colour schemes. Next, I searched for crystals so that I could also collate references for crystals. I researched different types of crystals – in both shape and formation – as well as varying colour schemes and art styles.
Additionally, I also decided to search for different tutorials on how one can digitally paint various environmental elements, e.g. rocks, grass, etc. and saved some to the moodboard.
Crystal Cave
Crystal Cave Entrance
Crystal Cave Entrance Level
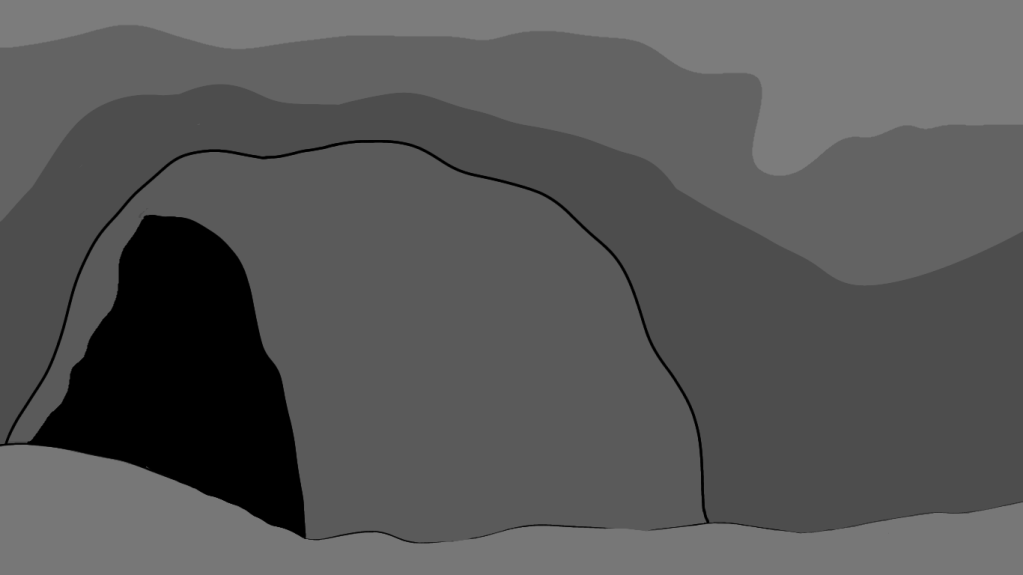
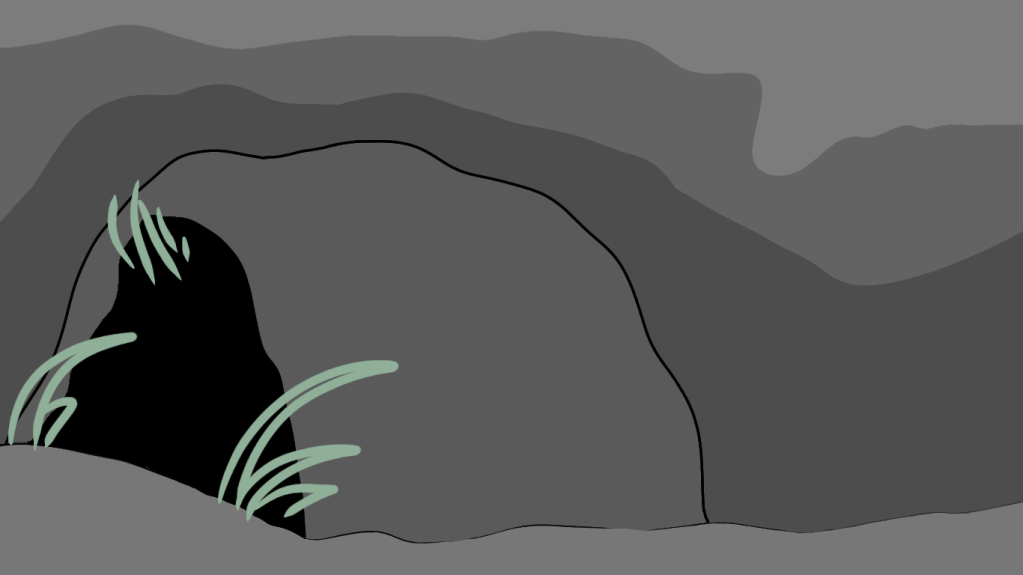
I decided to start the design process by thinking about the cave entrance. Initially, the crystal cave was supposed to be an above-ground cave and thus, I had roughly drawn a design for the cave entrance. Shown below is the design.
Above-Ground Cave
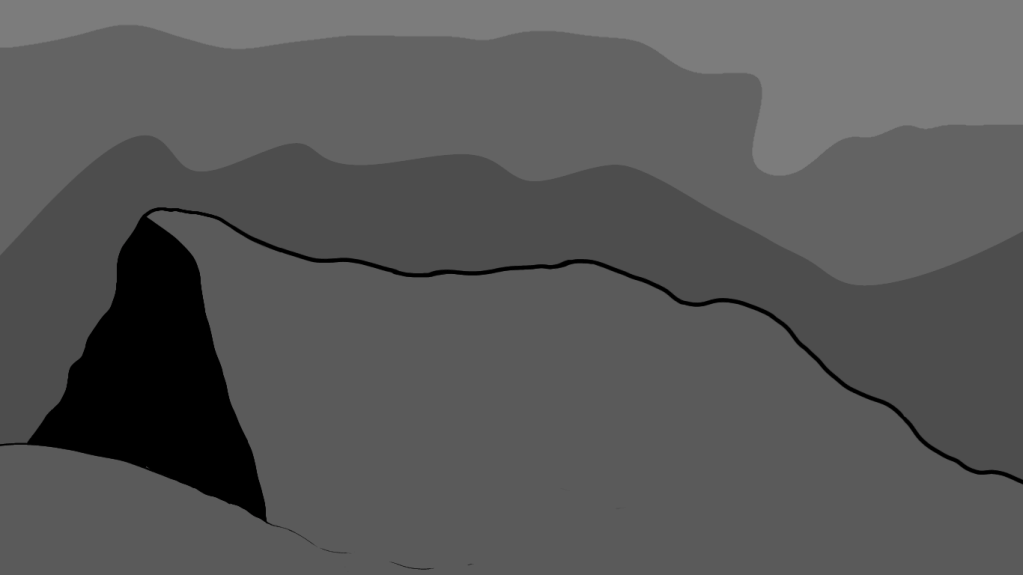
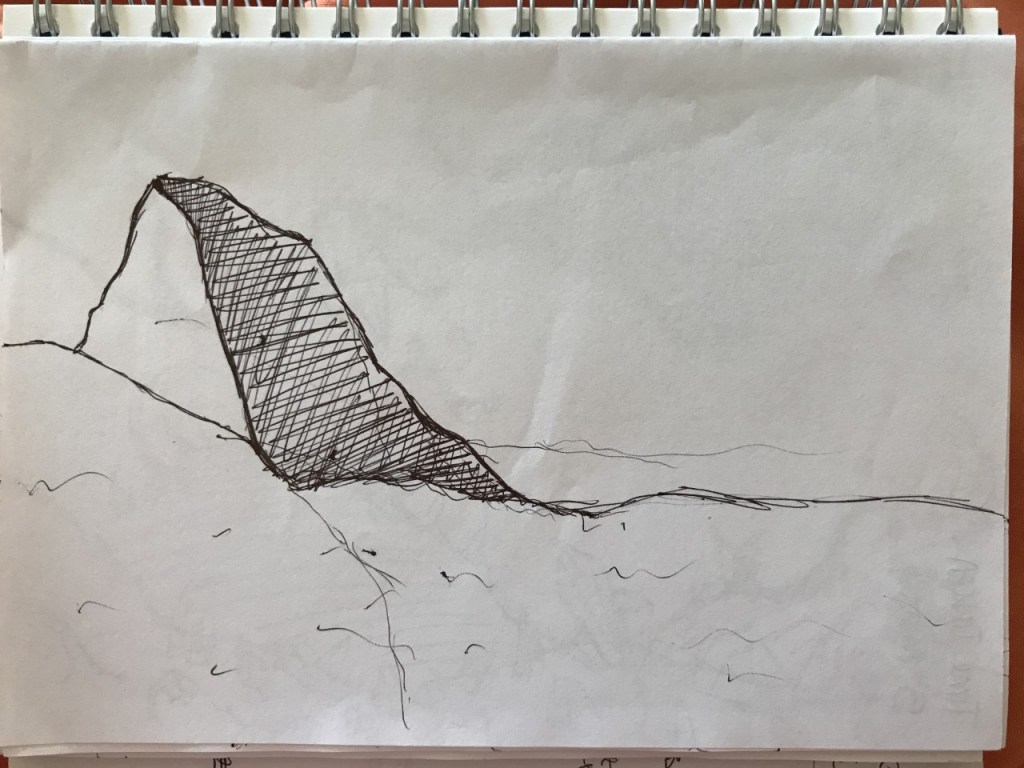
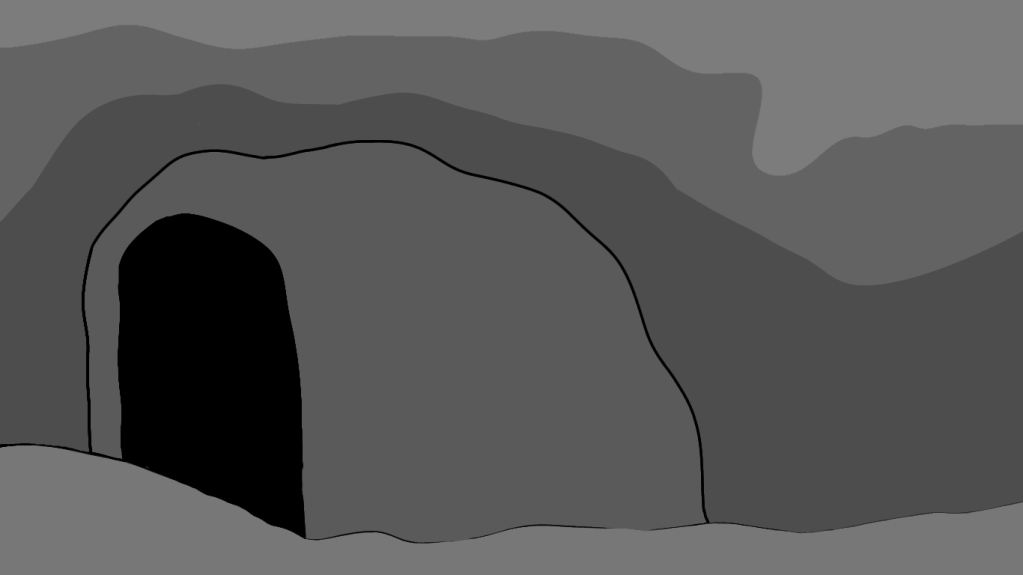
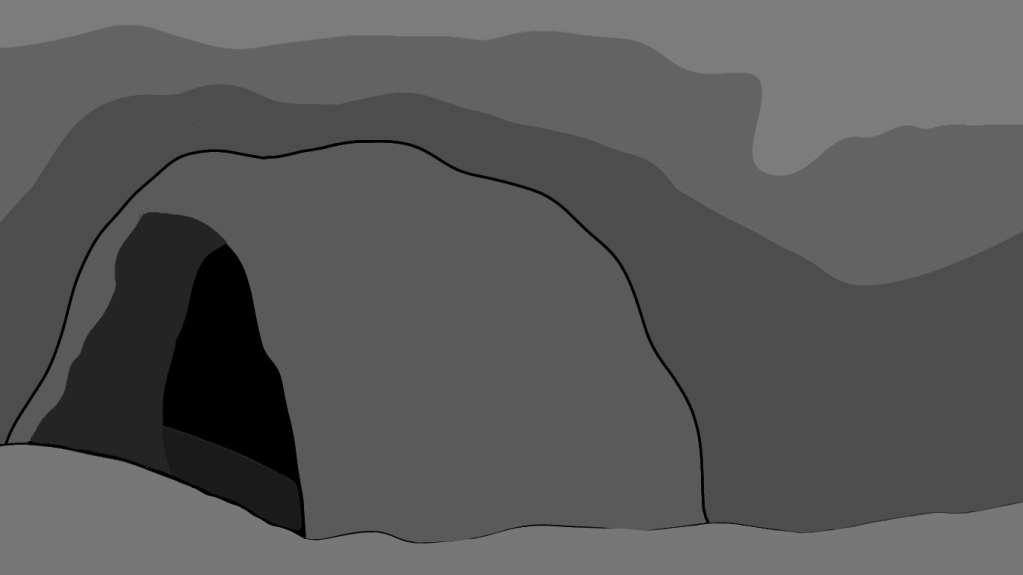
However, after the first scope reduction, we had decided to change the crystal cave into an underground cave to make the environment more dynamic since the underground area was discarded. Therefore, I needed to change the cave entrance design so that it was at a slant – it should lead downwards.
I began by sketching out the new design for the cave entrance before digitising it. Shown below are the sketch and its digitised copy.
Underground Cave
The drawings above were rough designs that were meant to act as foundations for a more thought-out design. After finishing them, I proceeded onto researching cave entrances in more detail.
Crystal Cave Entrance Research
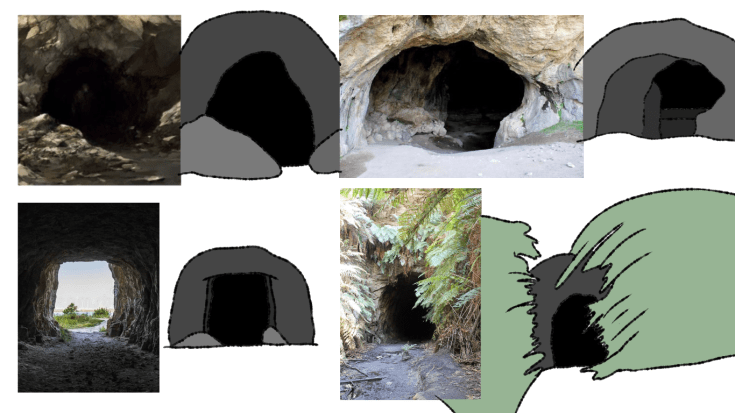
I began researching cave entrances by collating images of differently shaped cave entrances that possessed varying surroundings, e.g. foliage, rocks, etc. I placed the images into one page and began sketching different cave entrance designs using the references as a guide.
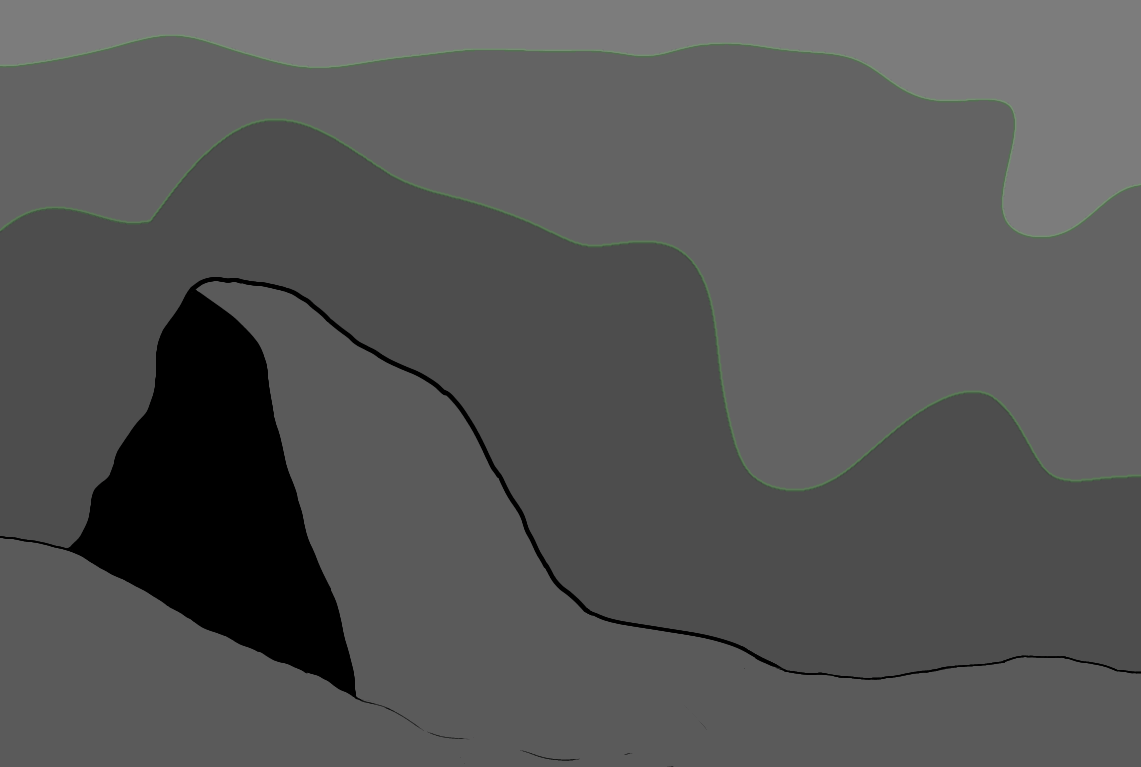
Next, using my existing cave entrance design as a foundation, I drew different cave designs that each varied in terms of entrance shape and surroundings as a method of exploring different design ideas.
Crystal Cave Entrance Shape
First, I explored different entrance shapes. Shown below are four caves designs, each with a differently shaped entrance.

Afterwards, I decided to choose the first entrance shape design to carry forward as it seemed to be a good balance between wide and narrow.
Crystal Cave Entrance Entrance Frame
Next, I explored different ways of framing the entrance. I tried using rocks and foliage to frame the entrance. Alternatively, I tried shading the entrance to partially reveal the interior cave walls. Shown below are the designs.

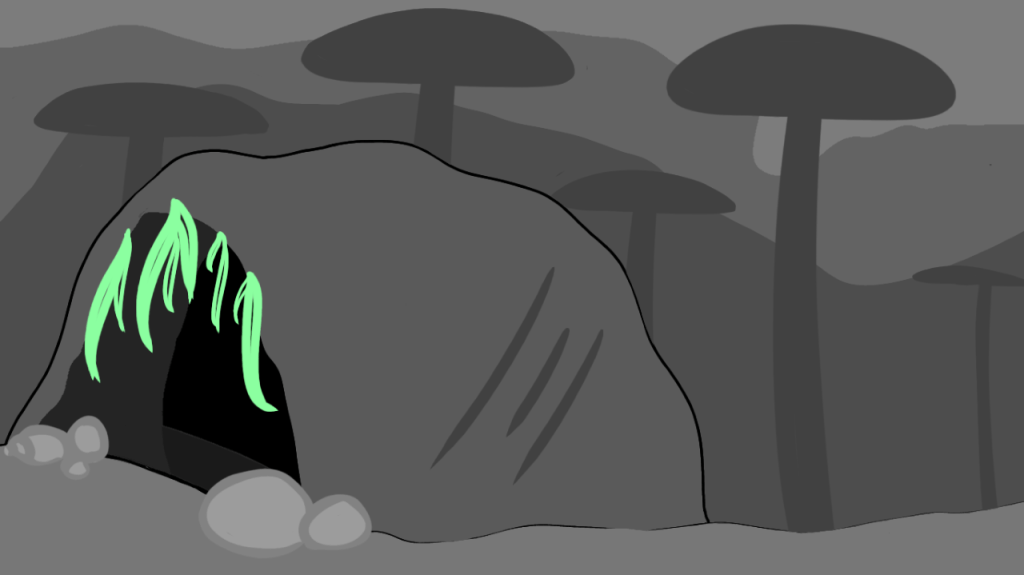
Afterwards, I once again chose a design to carry forward. I decided on the fourth design because I liked the way it revealed parts of the cave’s interior at varying depths. It gives the cave entrance a nice sense of dimension. I also chose to implement the second cave frame design to add a bit of colour to the design. It makes for a more visually interesting cave entrance.
Additionally, I chose to decorate the cave’s exterior with three claw marks in order to incorporate an element of environmental storytelling. The claw marks imply that the tiger was at the cave at some point and attacked it – it could also be the reason behind the crystals dimming.
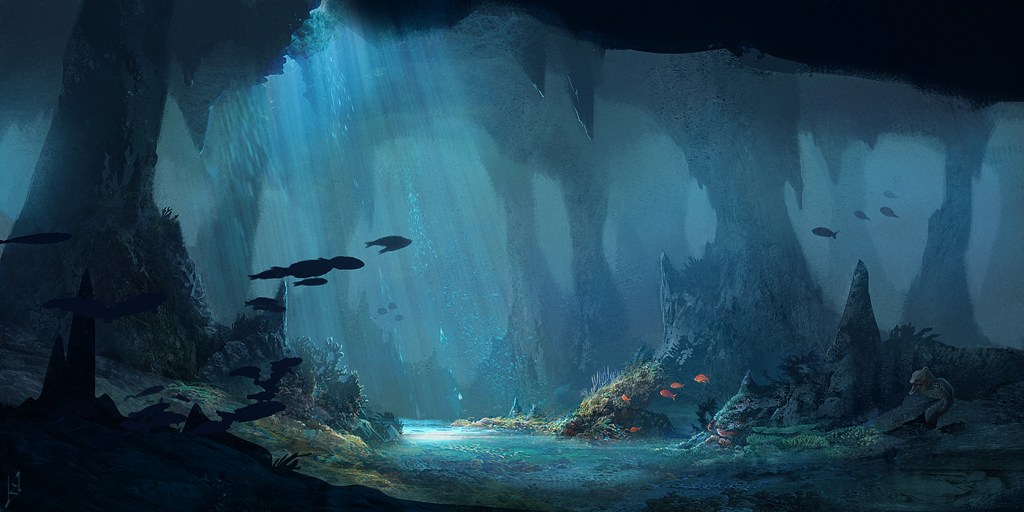
Shown below is the final cave entrance design.
Final Crystal Cave Entrance Design
Crystal Cave Interior
Crystal Cave Interior Research
In regards to designing the cave’s interior, I began the process by using references from my ‘crystal cave’ moodboard as inspiration. I looked at different rock formations, cave shapes, crystal placements, etc. Shown below are some of the references I used.

Crystal Cave Interior Shape/Layout
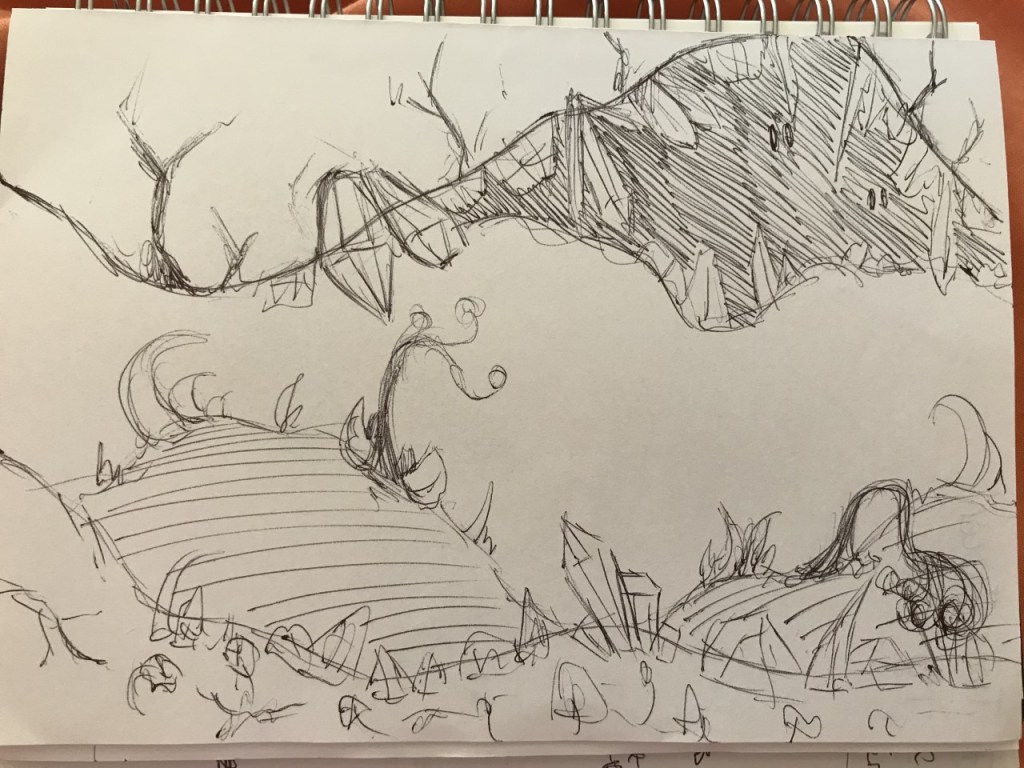
Using the moodboard for inspiration, I began sketching out some designs for the crystal cave’s interior whilst timing myself. I specifically focused on the shape of the cave’s interior and the composition of the crystals. The first sketch took me 15 minutes and the second took me 1 minute.
I used the first sketch to explore different rock formations, layers and accessories that could make it more visually intriguing. Such accessories include flowers, leaves, eyes shrouded in darkness, etc. The different rock formations include boulders/rocky platforms, statues, spikes, etc.
In the second sketch, I just explored different ways of placing the crystals and different cave shapes.
After sketching the designs out, I digitised them so that I could see what they would look like on a digital platform. Shown below are the sketches and their digitised copies.

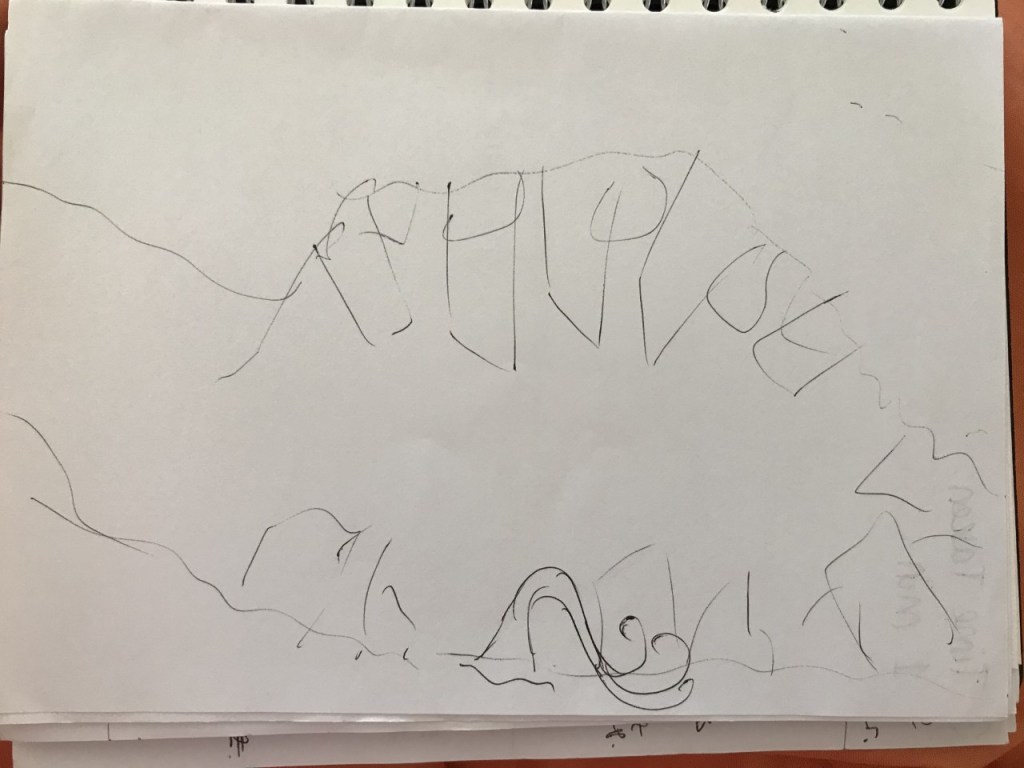
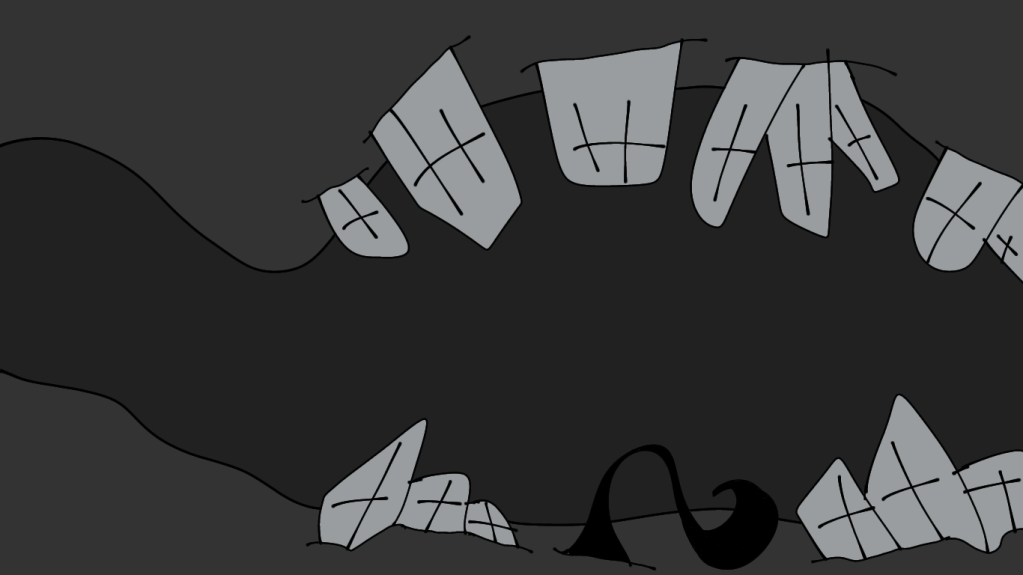
I decided that I preferred the layered, uneven cave walls from the first design as opposed to the more simplistic shape from the second design. I also liked the idea of including different rock formations and accessories to diversify the crystal cave. Thus, I decided to use the first design as a basis for when I create the final crystal cave design.
Crystals
Crystal Shapes/Formations & Art Styles Research
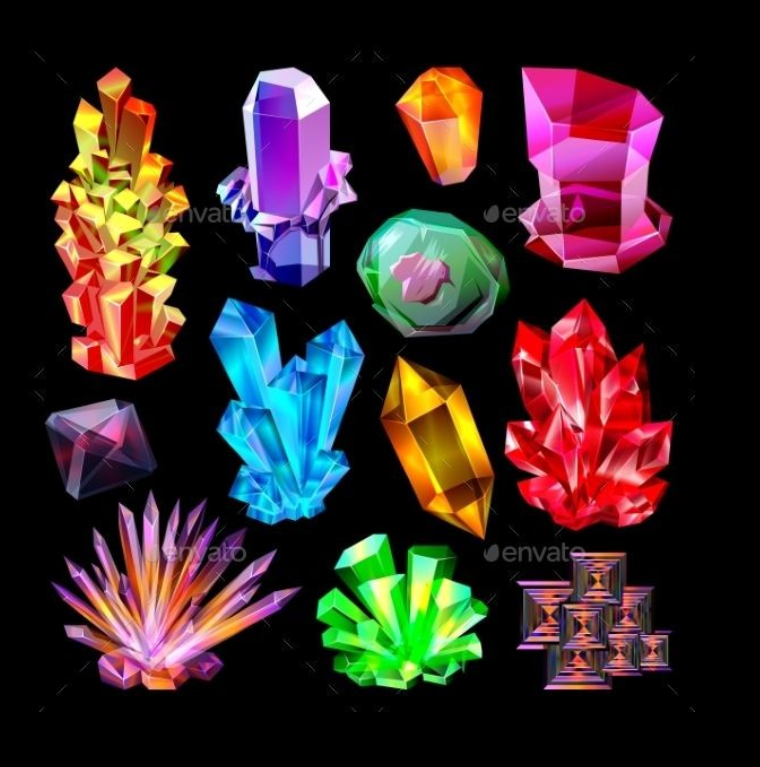
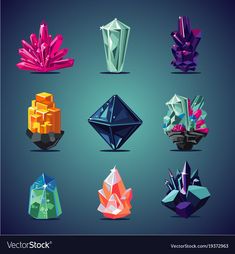
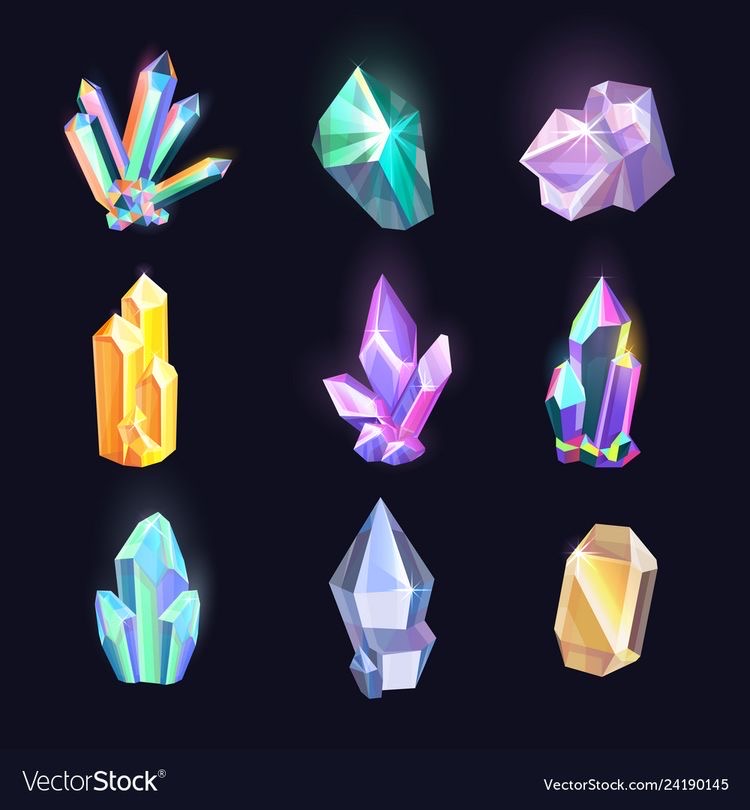
After researching caves, I moved onto researching crystals. I looked at different types of crystals, different crystal shapes, formations and colours. Shown below are some of the references I collated.
I decided to further explore crystal shapes/formations by using one of the crystal references and sketching out the outlines of the crystals. I chose the third one because I also liked the art style it showcased and wished to try mimicking it as well as sketching the crystals’ shapes. The art style was fairly simple and mostly consisted of block-shading so I thought it was a style that I could feasibly execute within the given time-frame. Shown below is the crystal study I did.
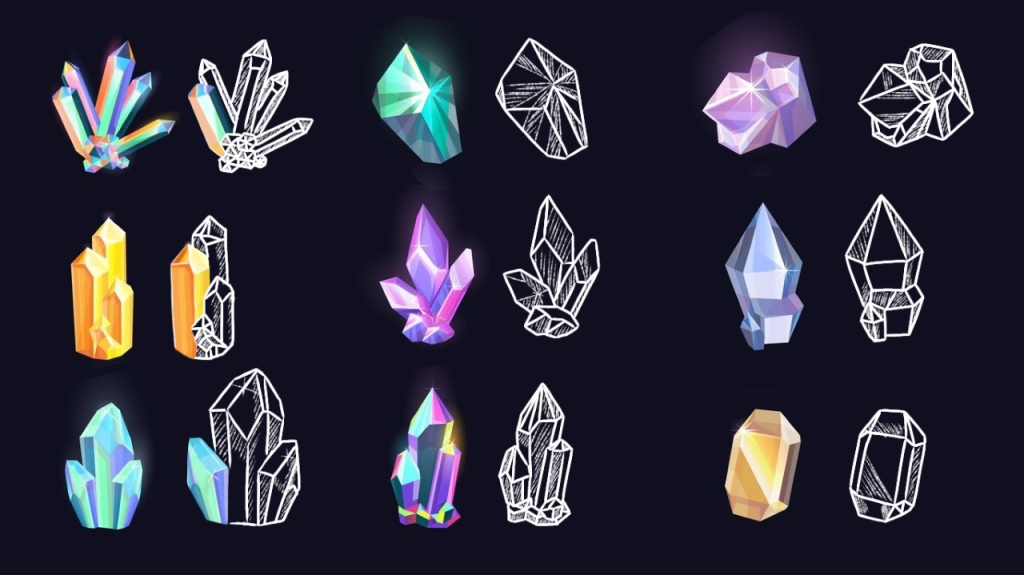
After completing this study, I found that I was correct about the style being easy to mimic. It is mostly block-shading and doesn’t take long to do. However, I was hesitant to choose this art style as style for the crystals since I hadn’t looked at other styles yet. I also wasn’t sure if the style would suit the game.
Crystal Art Styles Research
Finally, I decided to research different art styles for crystals. I ended up creating a mini moodboard to showcase three different art styles I particularly liked. Shown below is the moodboard.
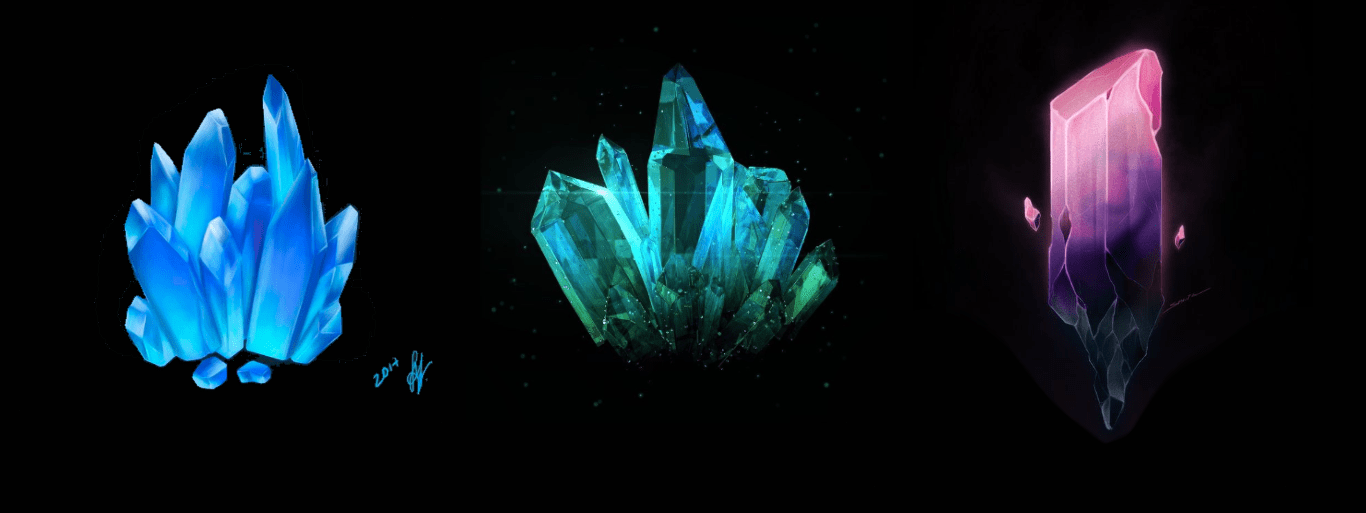
The first style was the style I chose in the end since it suited the game environment’s art style the most. It also seemed to be the simplest style to mimic out of the three. The second style seemed to be the least feasible option – it is highly detailed and would be difficult to mimic in a timely manner. It also didn’t complement the game’s art style. Finally, the third style was considered but it was deemed to also be too detailed to suit the game’s style.
Finalising the Crystal Cave Design
After completing the research portion of the task, I proceeded onto finalising the crystal cave’s design. Using the sketch below, I started drawing the final design.
I kept in mind the aspects I wanted to retain from this sketch:
The cave shape
The accessories
The layers
The different rock formations
The varying sizes of the crystals
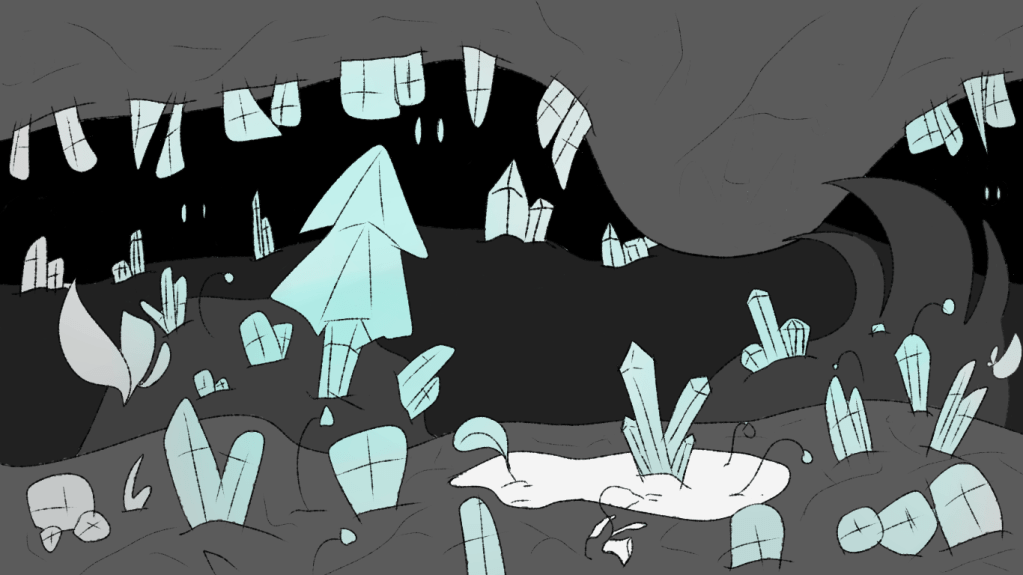
Shown below is the new crystal cave design. I had also decided to incorporate a a small pond as an accessory to make the design more dynamic.

I found that the design had too many crystals and accessories in it – it made the design seem over-saturated with objects. Thus, I edited the design a bit so that there weren’t as many objects. I also decided to scale down some crystals so that they took up less space – this was done to make the cave appear less crowded.
Shown below is the edited version of the design.
Next, I decided to finalise the crystal designs as the sketch above consisted of some rough designs that were meant to be polished later. I chose to implement some of the crystals in the reference below into the design. I chose this specific reference because I liked the variety of shapes it showcased. After completing a study of the different shapes, I found that I quite liked the types of crystals the reference displayed – they were visually intriguing and easy to draw.
In the end, I managed to incorporate a bit of each crystal type from the reference in the crystal cave design.

I kept some of the crystal designs from the original sketch and finalised them whilst others, I completely replaced with designs from the reference above. I also decided to add some small accessories to the more bare parts of the cave to make them seem less empty.
Shown below is the finalised crystal cave design.
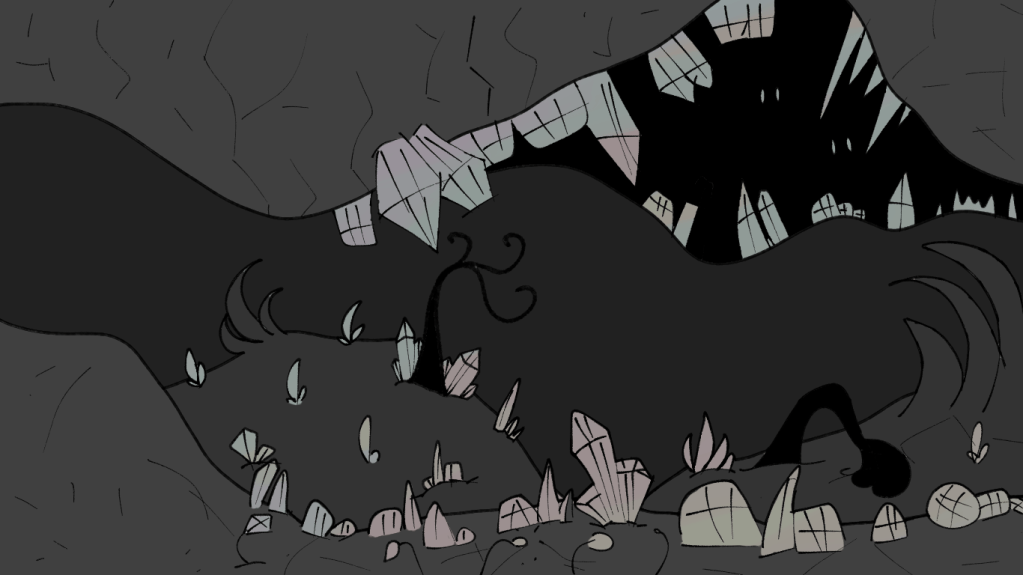
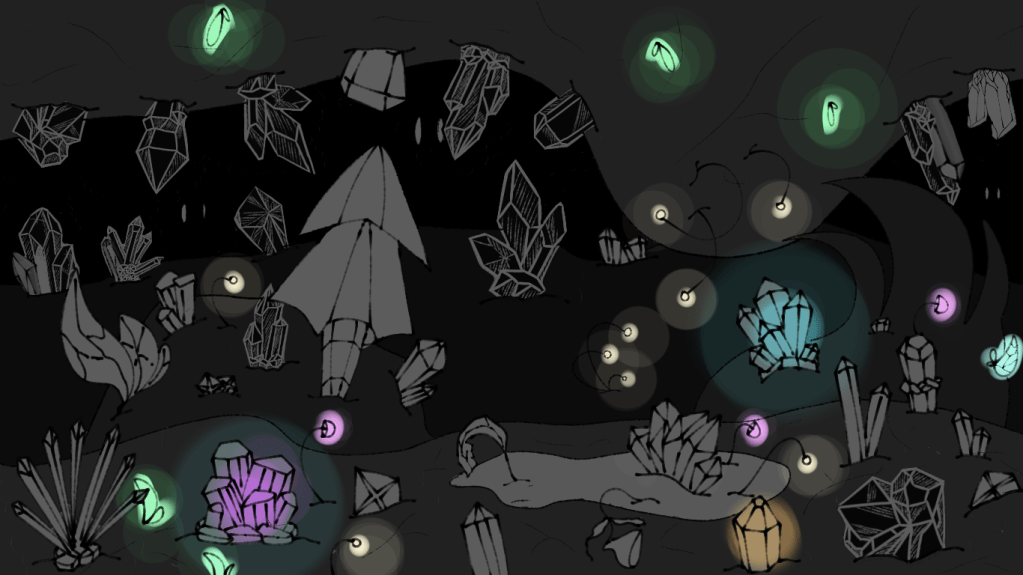
After I had finished finalising the design sketch, I decided to play around a bit with some colours and lighting. I dimmed the whole sketch by placing a black layer (lowered in opacity) over everything. I then placed a layer on top of the black one and created some glows in different colours to the accessories. I also did it to some crystals to test the effect on them. This was done as an experiment on how I could achieve a dim glow on the crystals as I also had to create the crystal cave with dim/flickering crystals.
Shown below is the sketch with the glowing effects in it.

Leave a comment